brewthings - Help
CraftbeerPi
iSpindel - DIY electronic Hydrometer
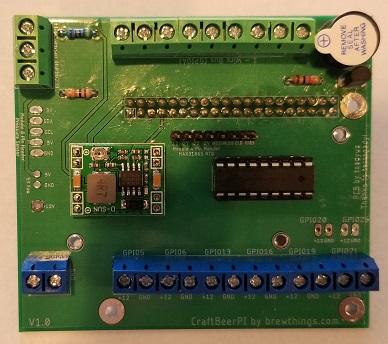
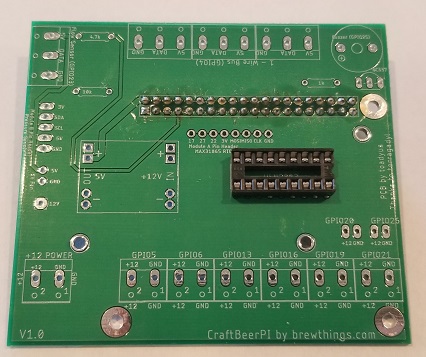
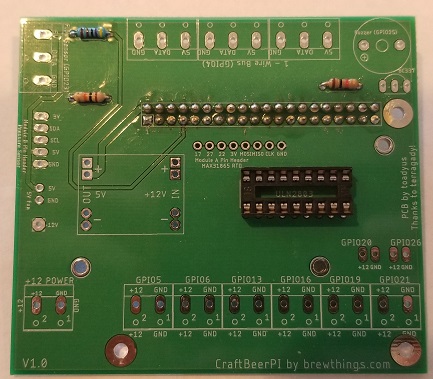
Building a brewthings board
brewthings DIY kit:
1. Solder in the 2x20 PIN Female header and then solder in the DIP 16 Socket.
2. Solder in all the resistor(s), make sure that they go in the correct spot!
3. Solder in the BC337 and then solder in (4) 2 PIN Headers and then the 8 PIN Header for the Module A add-on board.
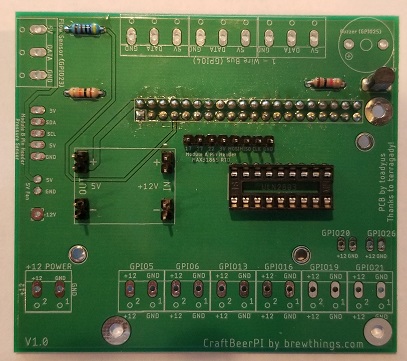
4. Solder in the (4) 3 Pin Screw PCB Terminal Block Connector, three of them will be connected together.
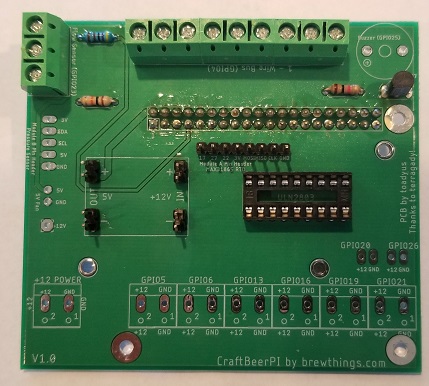
5. Solder in the (3) 4 Pin Screw PCB Terminal Block Connectors, all three of them will just slide together and then solder in the 2 Pin Screw PCB Terminal Block Connector.
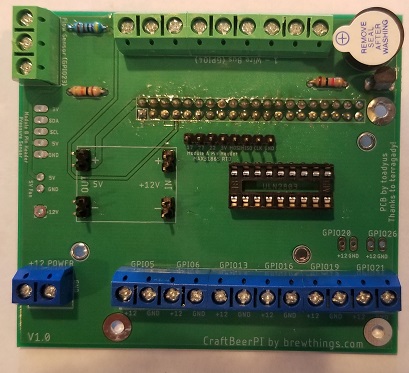
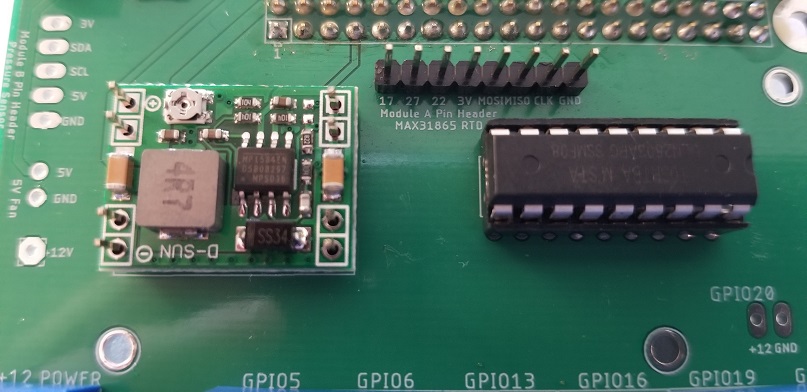
6. Connect the MP1584EN Buck 3a step down and the STMicroelectronics ULN2803A, make sure they're connected properly as shown in the images below.